SALSA MLPA Probemix P200 Reference-1 contains thoroughly tested reference probes and control fragments to which you can add your own synthetic (MS-)MLPA probes. Most SALSA® MLPA® probemixes have a benchmark fragment at 92 nt, which is used for the normalisation of several quality control fragments. This fragment has been left out of the P200 probemix in order to leave as much room for synthetic probes as possible. The median signal of all reference probes in the probemix can be used as a substitute for the 92 nt benchmark fragment by Coffalyser.Net. Due to technical limitations, this requires manual adjustment of the Coffalyser sheet.
Required adjustments to the Coffalyser sheet
The probe functions of all reference probes should be changed to also include the ligation control function, which is the name used in Coffalyser.Net for the benchmark fragment. This can be done as follows:
- Open the sheet library in Coffalyser.Net.
- Either right-click an existing analysis sheet and choose Open, or create a new sheet by right-clicking on an empty area and choosing Add. More details about adding Coffalyser sheets.
-
The Coffalyser Work Sheet Editor should open. Navigate to the probes tab. You should see something similar to the screenshot below. Details may differ between versions and lots.
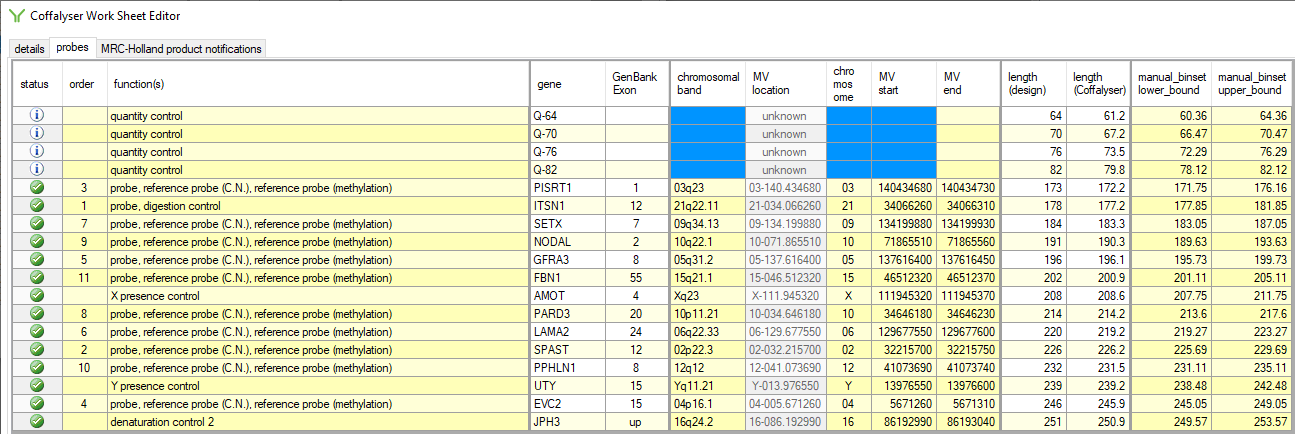
- Double-click on each probe with probe, reference probe (C.N.), reference probe (methylation) in the function(s) column to display a dropdown menu. Add the ligation control function to these probes. Do not remove any existing probe functions.
- Some older, existing sheets may have the probe function defined for the X presence control probe, the Y presence control probe and the denaturation control 2 probe. If you use an existing sheet and this is the case, remove the probe function from these probes (but leave the other functions). This avoids unnecessary variability warnings, e.g. when analysing samples from different genders.
-
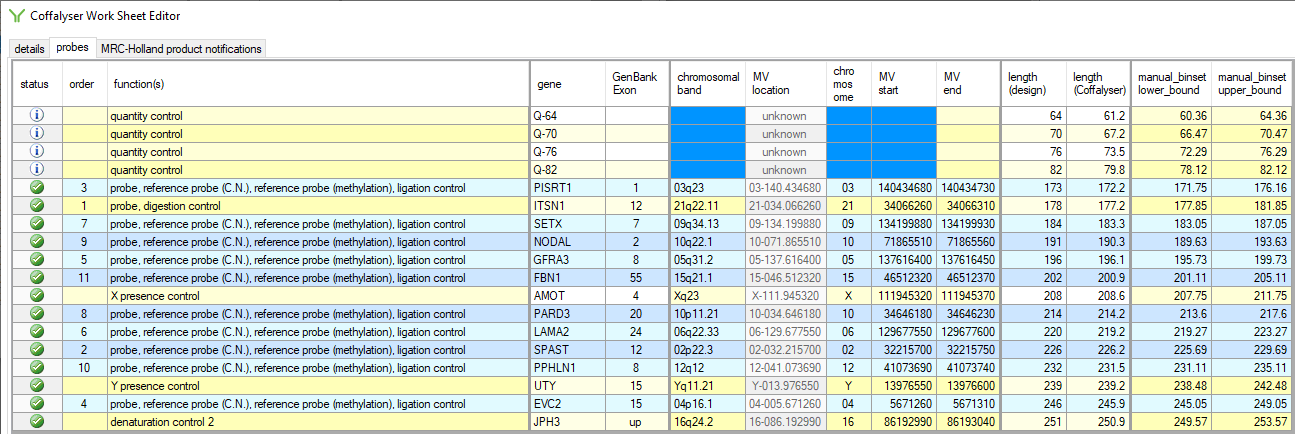
When done, the values in the function(s) column should resemble the screenshot below.
- Optionally proceed to add your custom synthetic probes to the analysis sheet as described in the Reference Manual.
- Click OK to save the adjustments.
More information
- More information about adding, modifying and removing probes can be found in the Reference Manual.
- For additional assistance, you can contact us. Please note that we no longer offer any support on the design of synthetic probes.